


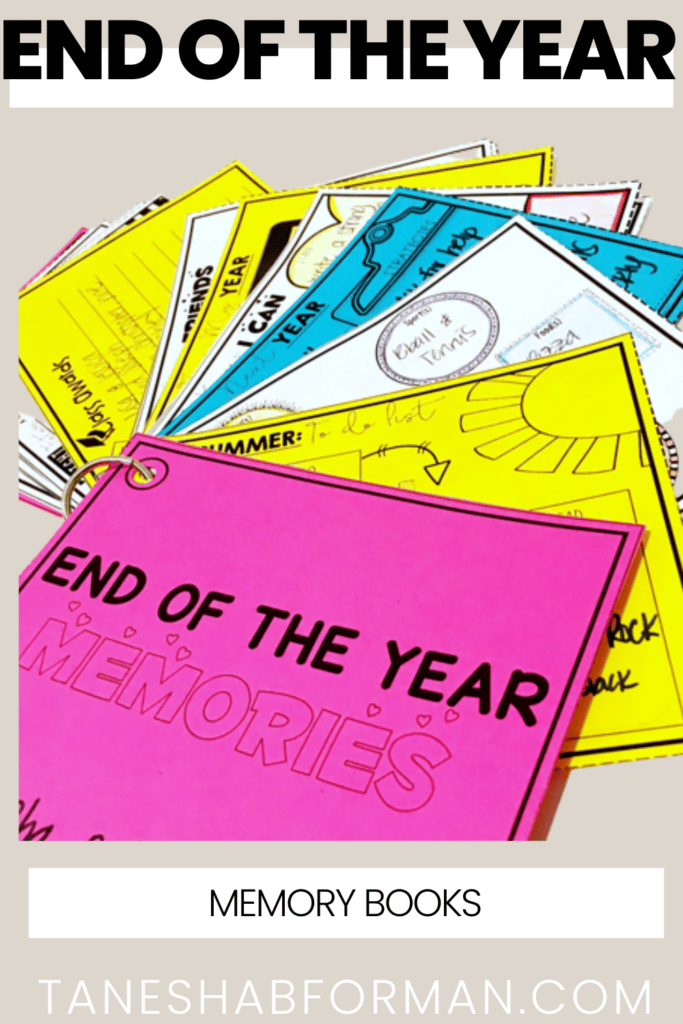

I’ve been working on updating my beginning and end of the year resources, and I LOVE, LOVE, LOVE the updates I made to my memory books. I am always trying to push myself and think about new ways to do something, and I landed on something different with my memory books. I don’t consider myself crafty, AT ALL, but I wanted to create something that allowed students to reflect on the year, but didn’t look like a book. Weird, I know. As I sat in my home office staring at my oversupply of manila folders I thought, “Ummm, I wonder if I could something interesting with those.” Low and behold, I COULD!

I am going to make my best attempt to walk you through how to create one of these fabulous books. As I noted, I am NOT crafty. I emphasize this to say these are not difficult to make! If you have any questions feel free to leave a comment and I’ll try my best to help out.
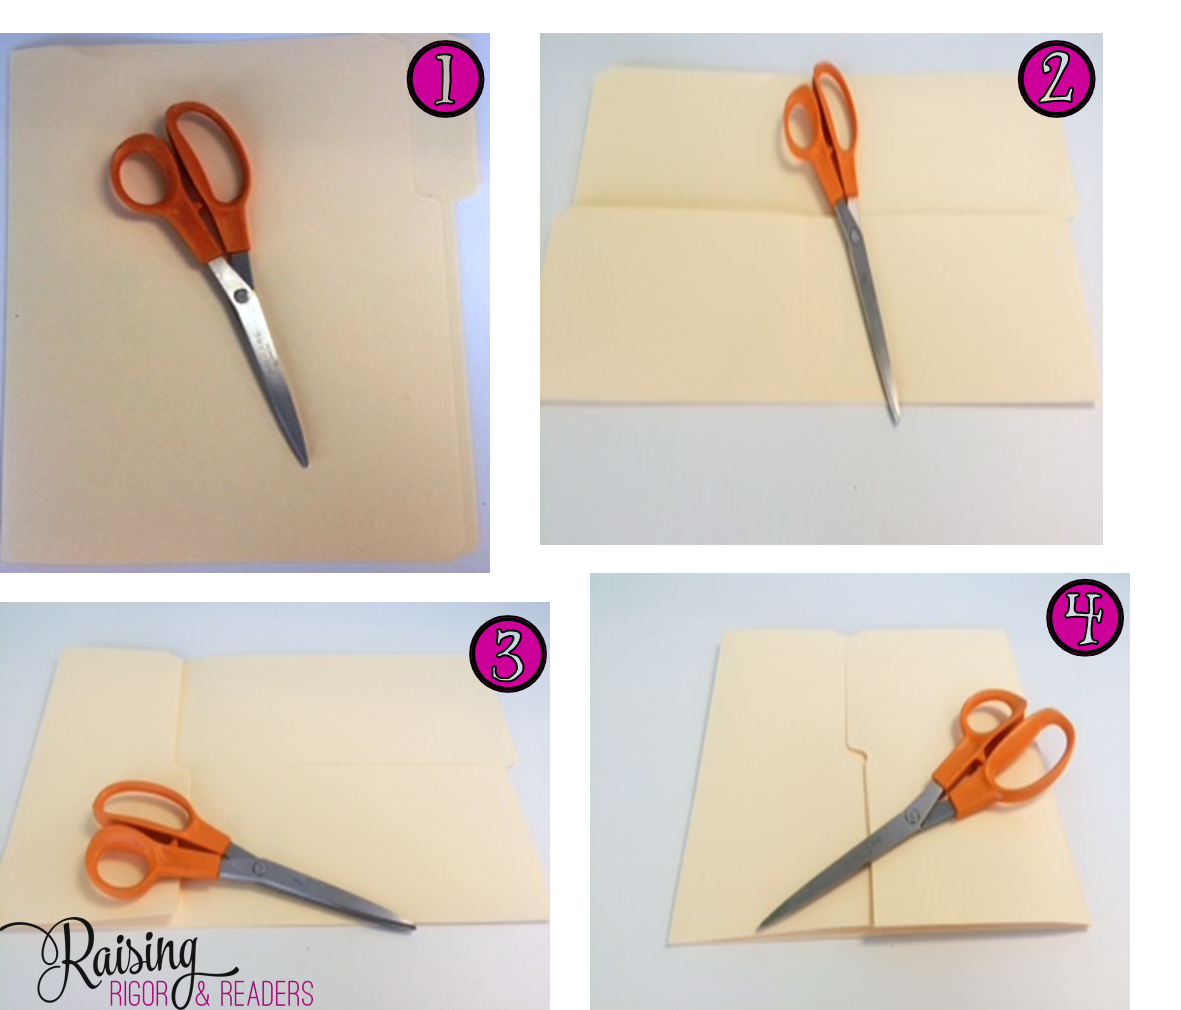
STEP 1: Gather your materials. You will need file folders with tabs and a pair of scissors. I used folders that had tabs to the top right.
STEP 2: Open your folder, and fold the bottom up to meet the tab. This should be about 4 inches (give or take). This step will make the “pockets” of the book.
STEP 3: Fold the left side of the folder towards the middle crease of the folder. The tabbed portion will overlap the center line. Make sure the upper part of the folder is even with the middle crease. Use the handles of the scissors to “iron down” the newly made left crease.
STEP 4: Fold the right side of the folder towards the center. Notice how the tab hangs off center. This is fine.

STEP 5: THIS IS THE MOST COMPLICATED STEP. Fold the left side back to create a bind that matches up on the right side. This should leave the tab on the right side exposed. You want to make sure that the bind on the left has a tight crease. You should have your mini-book after step five.
STEP 6: This is completely optional, but involves adding color backgrounds to your mini-book.
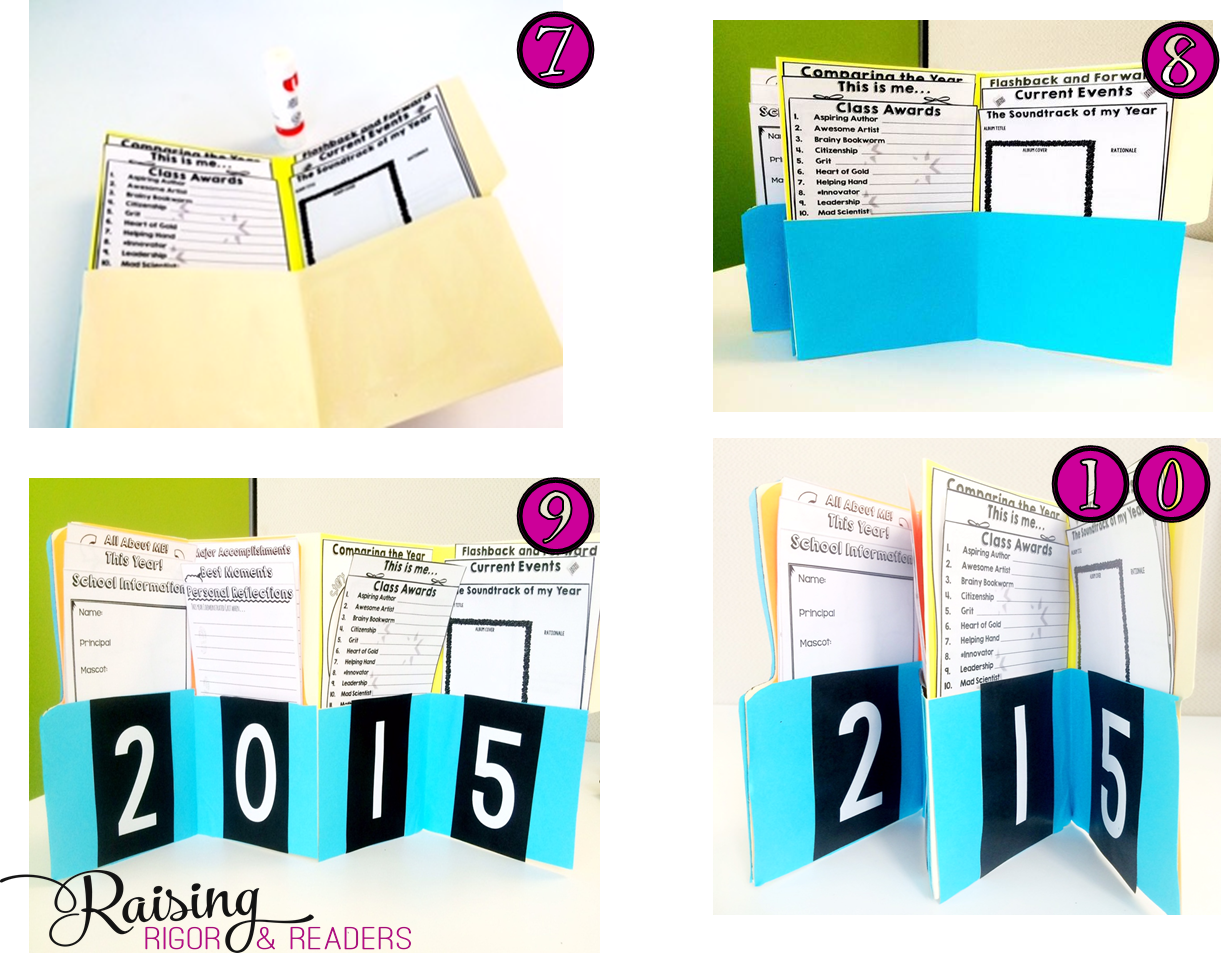
STEP 7: Print inserts and have students complete them before putting them into the folders.
STEP 8: **THE REMAINING STEPS ARE OPTIONAL, but add pizzazz to the books. Glue colored paper to the folder pockets.
STEP 9: Add the year to the each pocket folder.
STEP 10: Dress up your folders as needed.
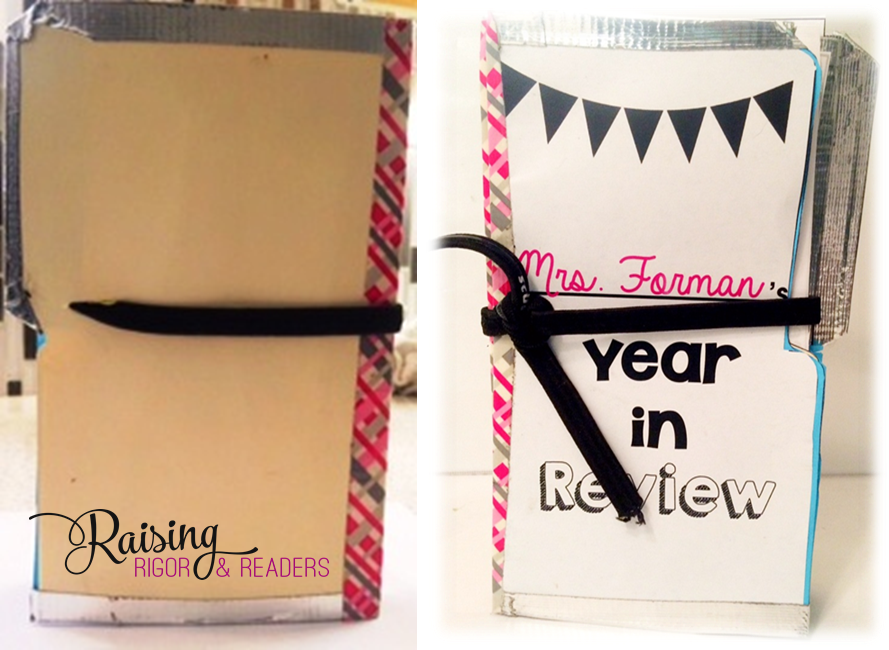
LASTLY: Cut a small slit in the back that you can use to put a ribbon through. Tie the ribbon in the front. You’ll note I used duct tape to decorate (as best I could) my folder.
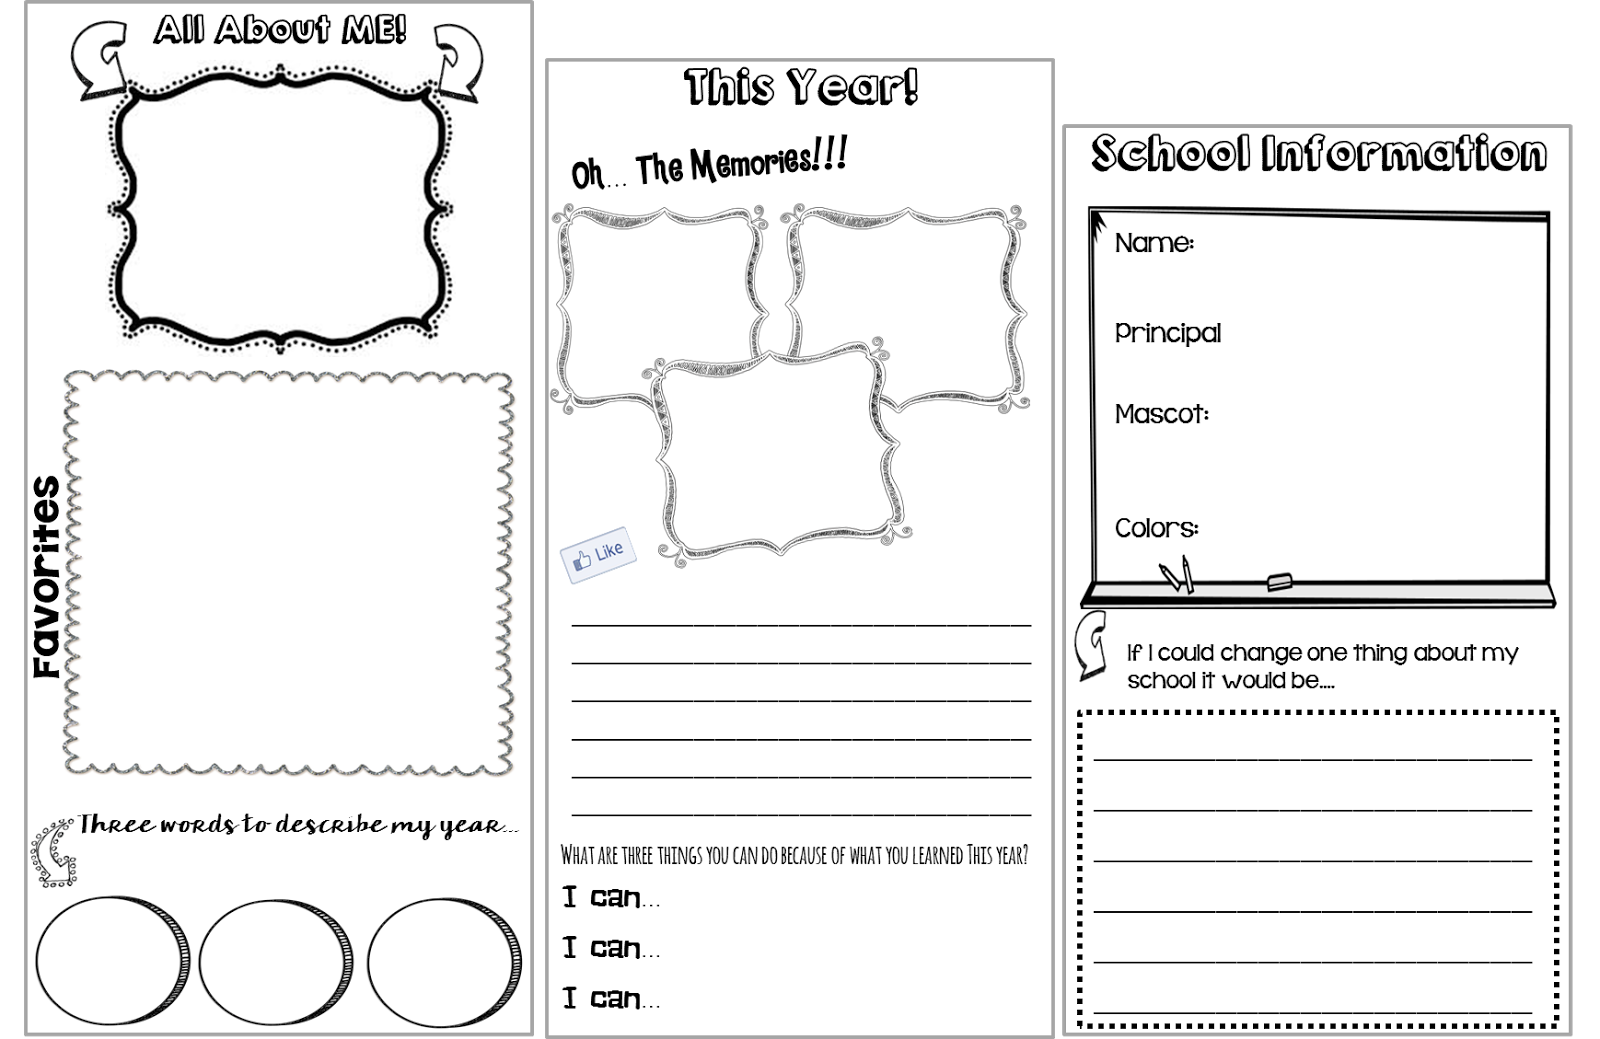
Check out some of the inserts in this project below.
The “updated” and older version are both in my store! Cheers to a fun and reflective end of the school year!